Experimenting with Telnet Packet Sniffing and Capturing Unencrypted Passwords
Telnet is insecure because it sends login credentials, including the password, in unencrypted plain text to the Telnet server. This makes it easy for anyone with access to the network to capture and view the login information. In this post, I’ll walk through setting up a lab environment to demonstrate and reproduce this process of sniffing Telnet traffic to capture passwords.
For this demonstration, I’m using a WSL Debian instance as the Telnet server and a MacBook as the client, with Wireshark running on the MacBook. The two devices are connected through Zerotier, which provides a virtual network for secure communication across different physical networks.
Install Telnet Server on Debian WSL (Server)
Install telnetd on Debian 12
1
2
sudo apt update
sudo apt install telnetd -y
Enable and Start the Telnet Service
Using xinetd:
1
sudo apt install xinetd -y
Edit the telnet configuration file for xinetd:
1
sudo vim /etc/xinetd.d/telnet
Add the following configuration to the file:
1
2
3
4
5
6
7
8
9
10
service telnet
{
    disable = no
    flags = REUSE
    socket_type = stream
    wait = no
    user = root
    server = /usr/sbin/telnetd
    log_on_failure += USERID
}
Note: If
telnetdis installed in a different directory, locate its path and setserver = /path/to/telnetd.
Restart xinetd to apply the configuration:
1
sudo systemctl restart xinetd
Use Telnet to Connect the WSL Telnet Server
Enable Telnet Client on Windows11:
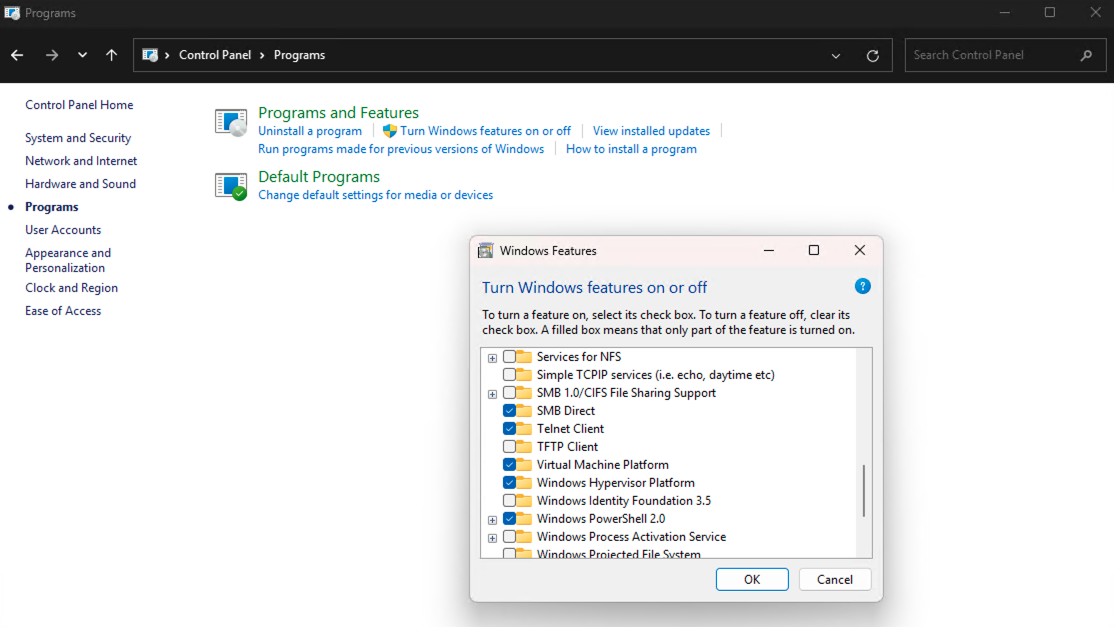
Open the Control Panel, go to “Turn Windows features on and off” under the “Programs and Features” section.
Scroll down to find Telnet Client and tick the box beside the Telnet Client. Click OK.
macOS or Linux:
In most cases, telnet is preinstalled. If it’s not available, you may need to search for installation instructions specific to your system.
Use Wireshark to Capture Telnet Packets
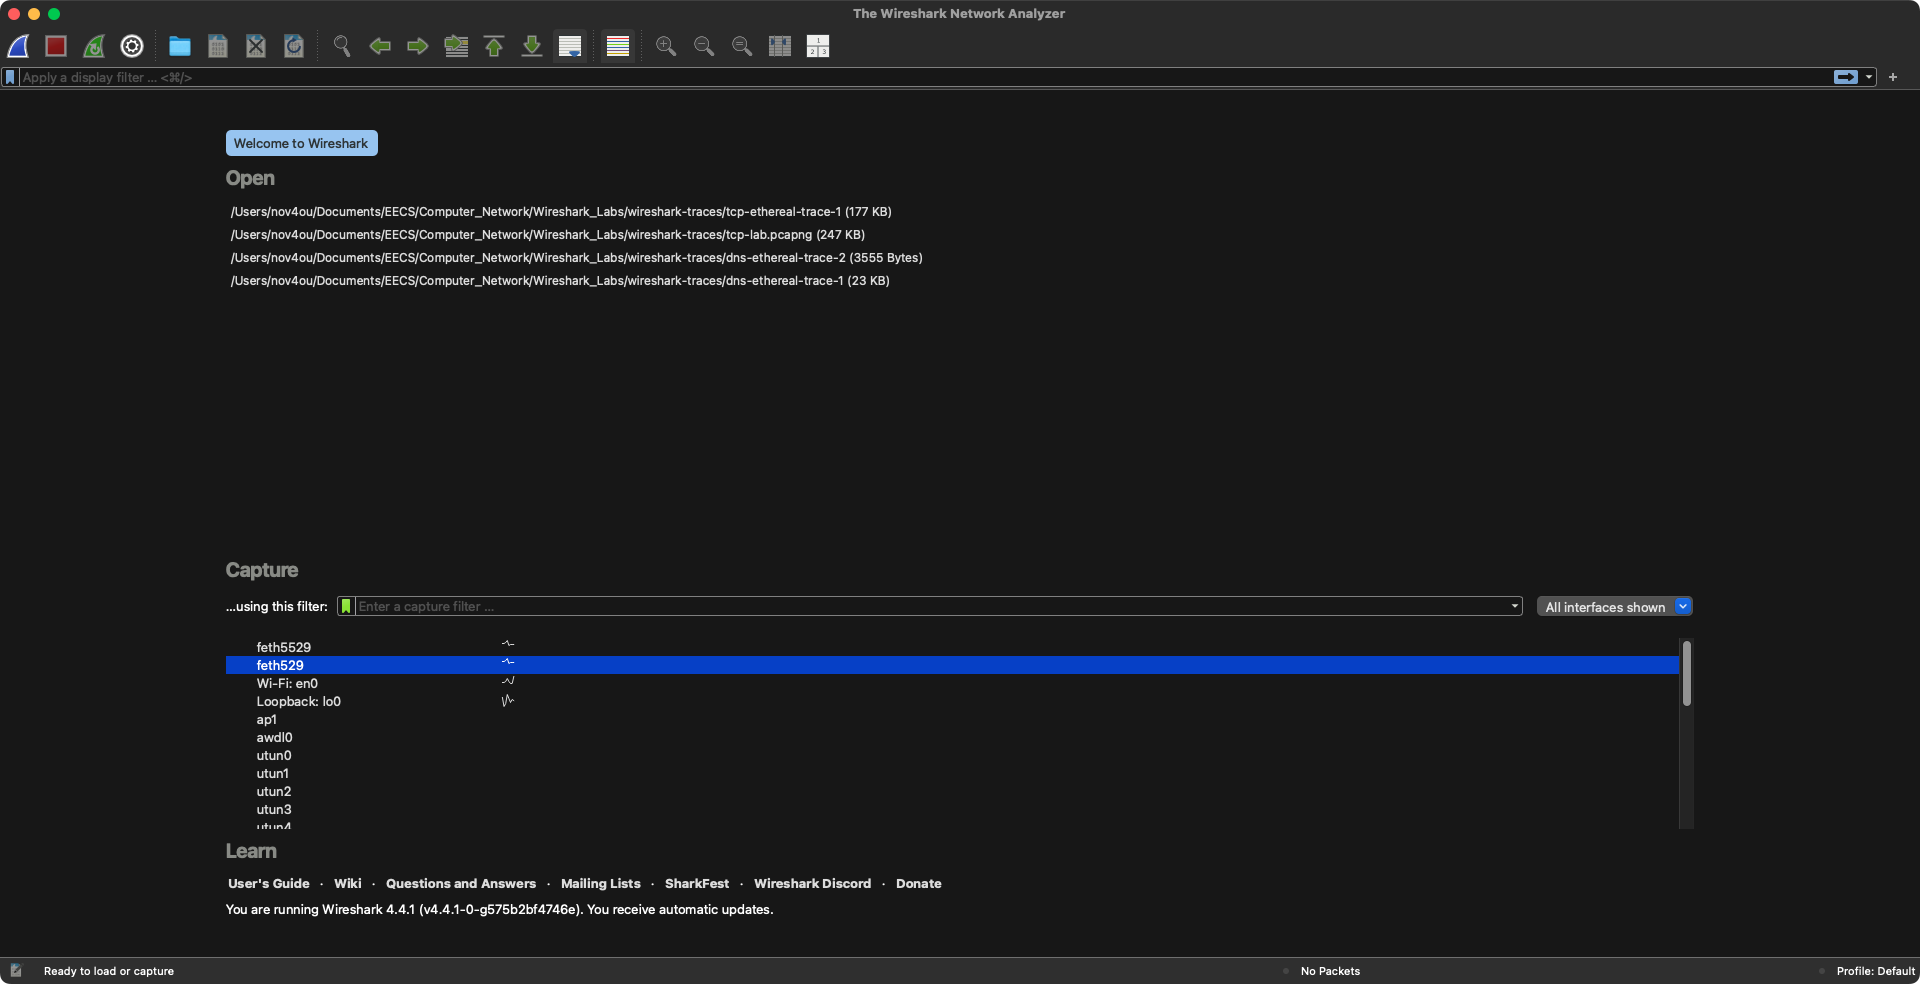
Open Wireshark and select the network interface you want to sniff. In my case, I’m using Zerotier, so the corresponding network interface for communicating with the WSL telnet server is feth529:
Click Start capturing packets, then open terminal and try telent connect:
1
telnet 172.24.113.37 23
If the telnet server was set correctly, we can login into the remote server: 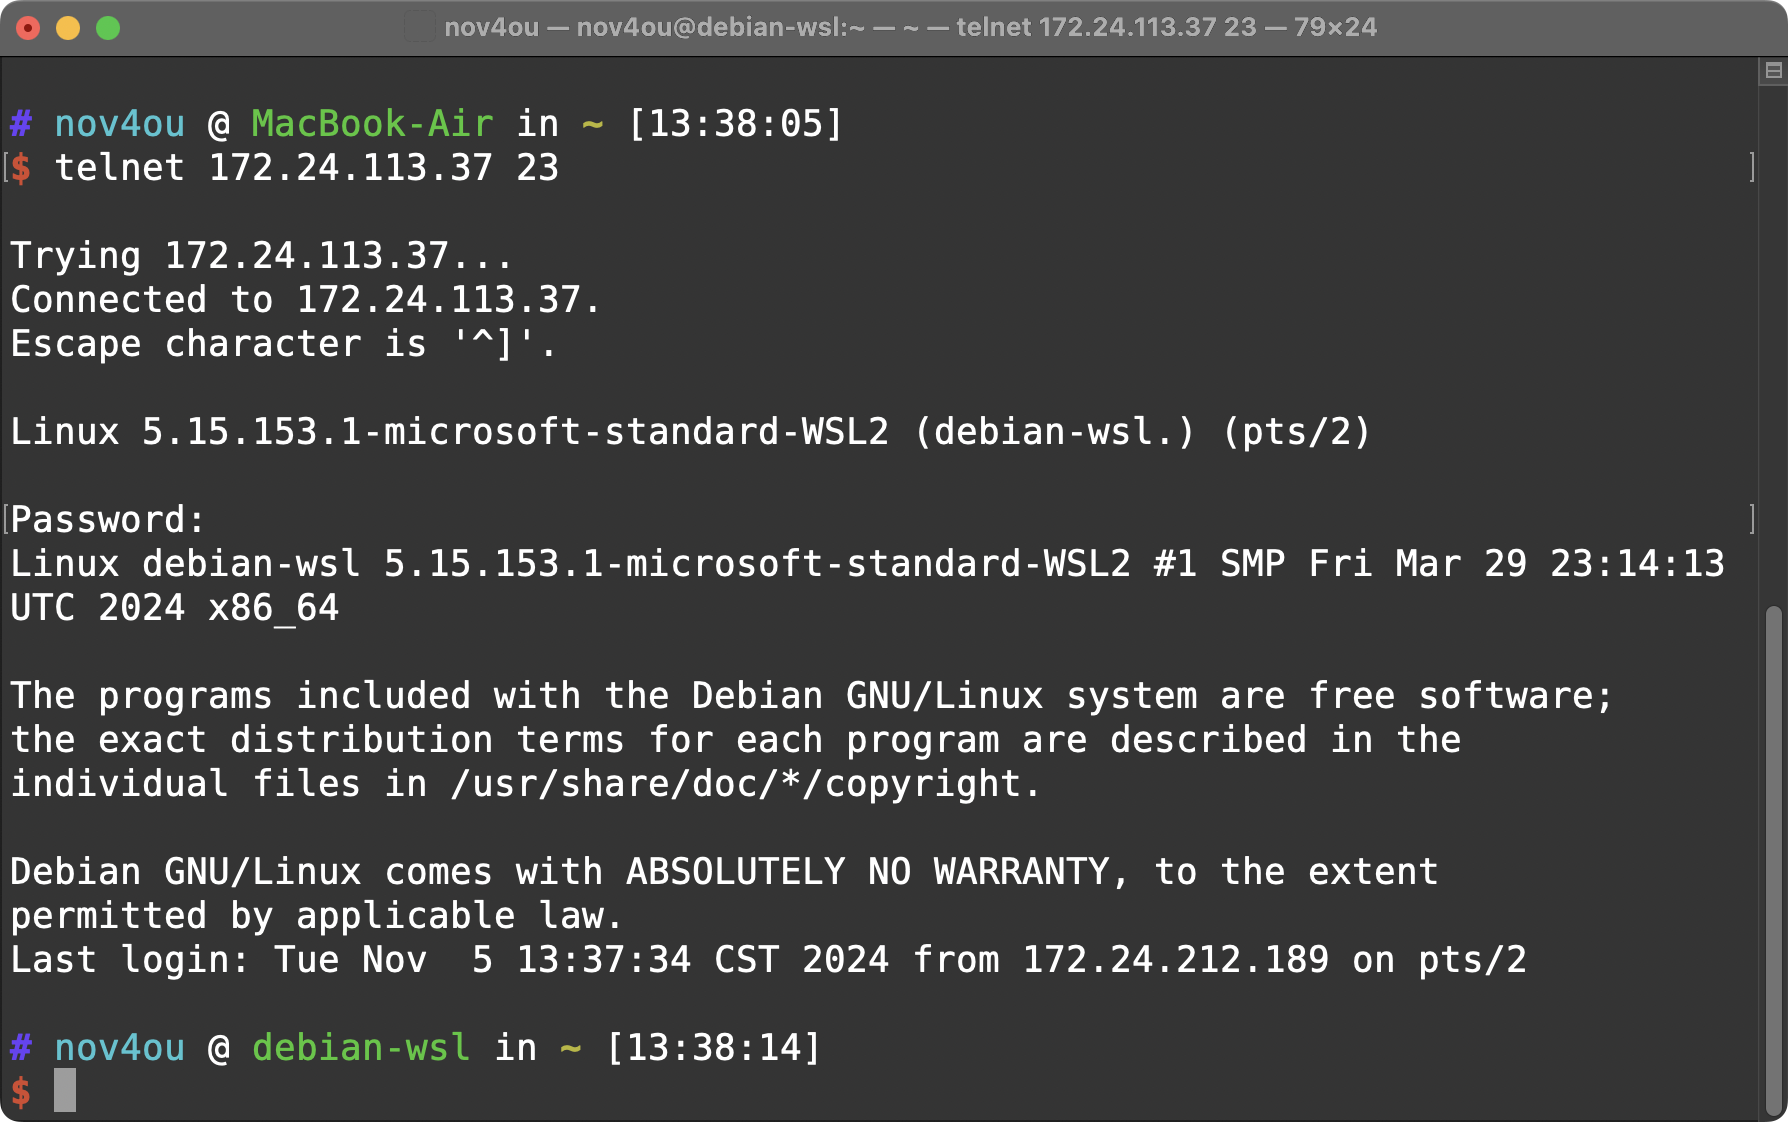
OK! This is very convenient! So why do people use SSH instead? When we capture the Telnet packets traveling through the network, we can actually see how Telnet transmits the login information to the server:

These are the Telnet packets transmitted between the Telnet server and client. We can simply use Wireshark’s “Follow TCP Stream” feature to view the Telnet protocol as it appears at the application layer: 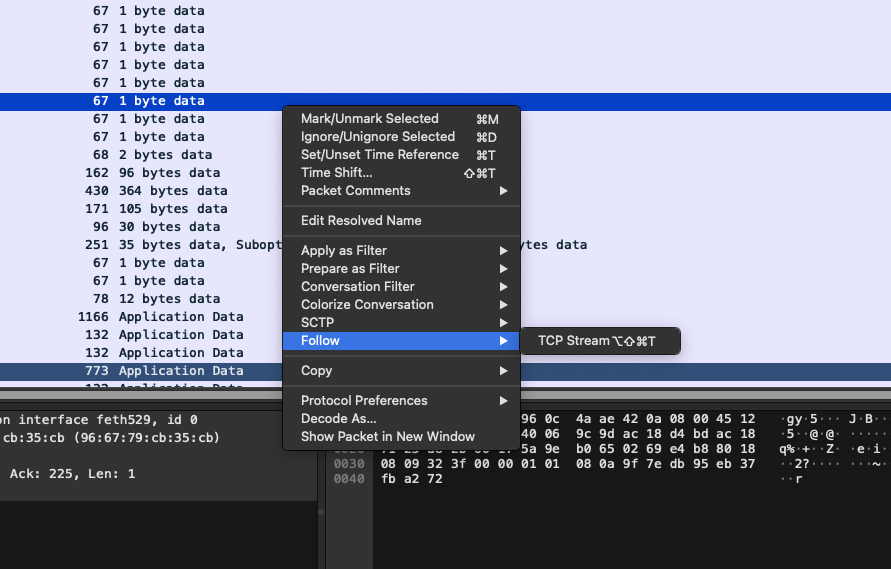
This is the TCP stream for the Telnet protocol: 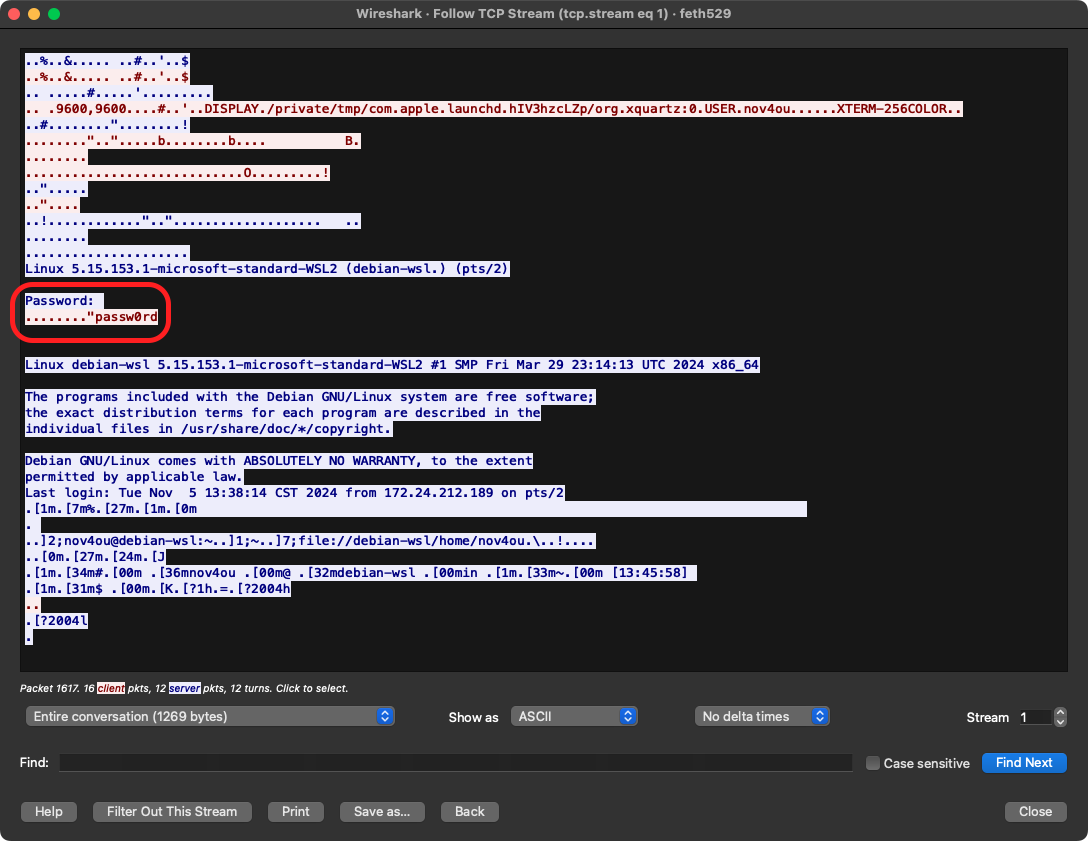 In the stream, we can clearly see that the password is transmitted in plaintext.